See below for instructions on how to make your own coaster into a kids artwork display using a Kudos Coaster Plus. If you’d prefer to use a photo, the process is similar to make a DIY photo coaster!
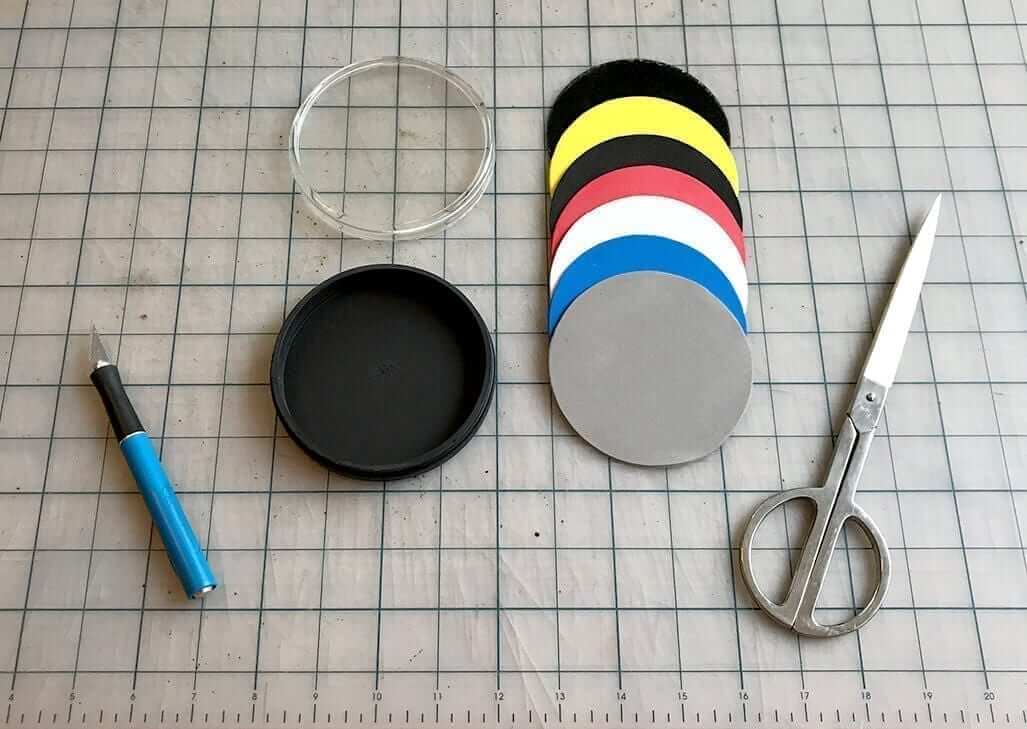
Step 1
Pop off the top and remove all Tru-Fit inserts along with the metal plate. The metal plate is designed to fit snugly into the base, so this might take a little effort to remove.
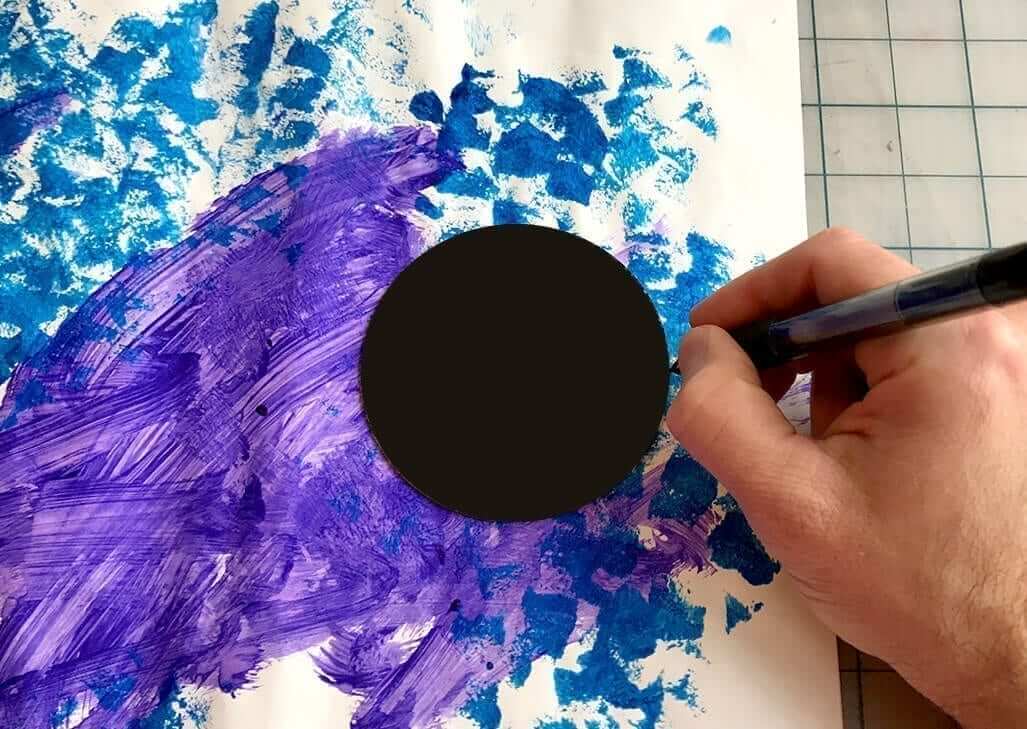
Step 2
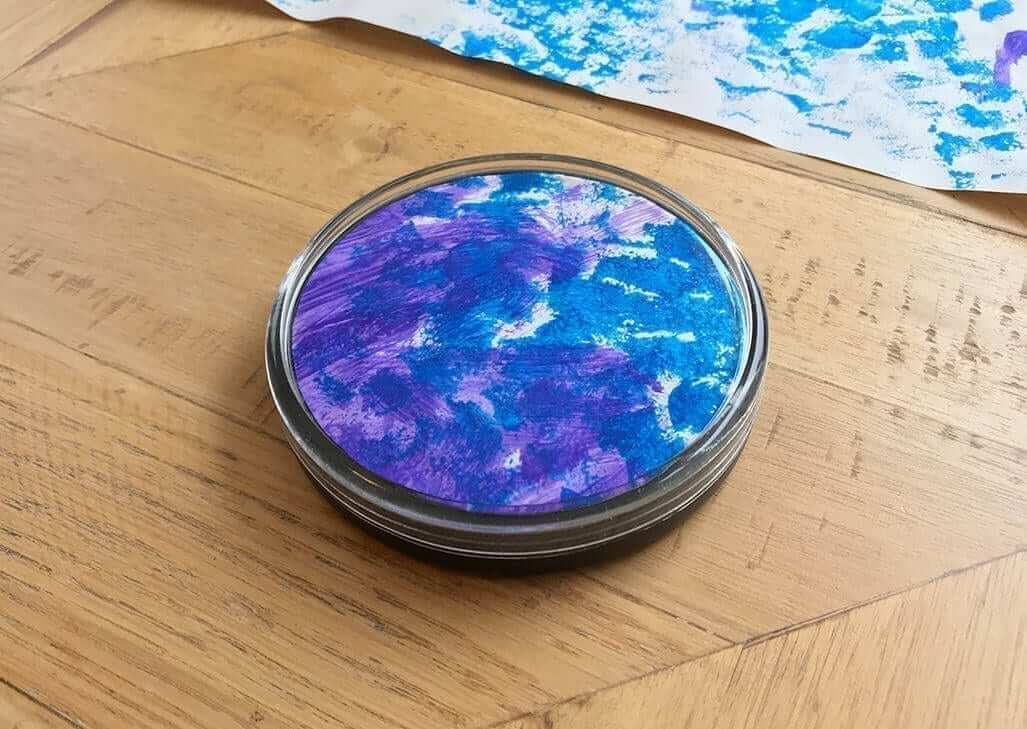
Once the metal plate is removed, use it as a template to trace a circle around a piece of canvas from your local art store. If you already have artwork, you can trace directly onto that to create your circle.
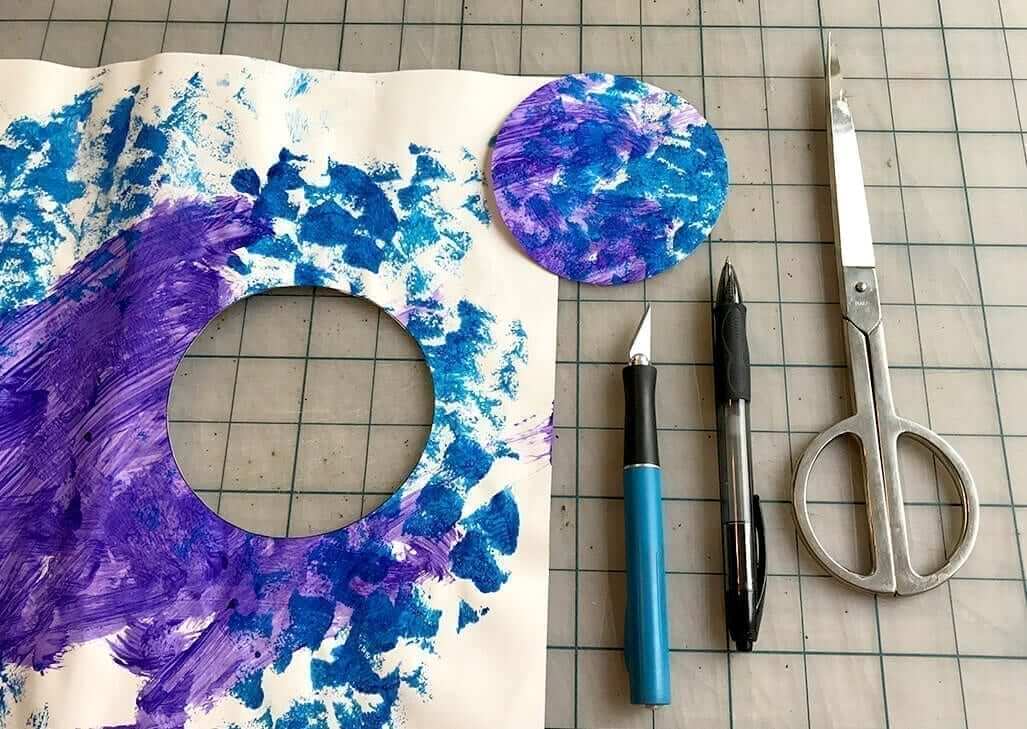
Step 3
Using scissors or an exact-o blade, carefully cut out the circle from canvas or ready-made artwork. We recommend cutting on the inside of the line you drew vs directly on the line or on the outside so you don’t see the markings.
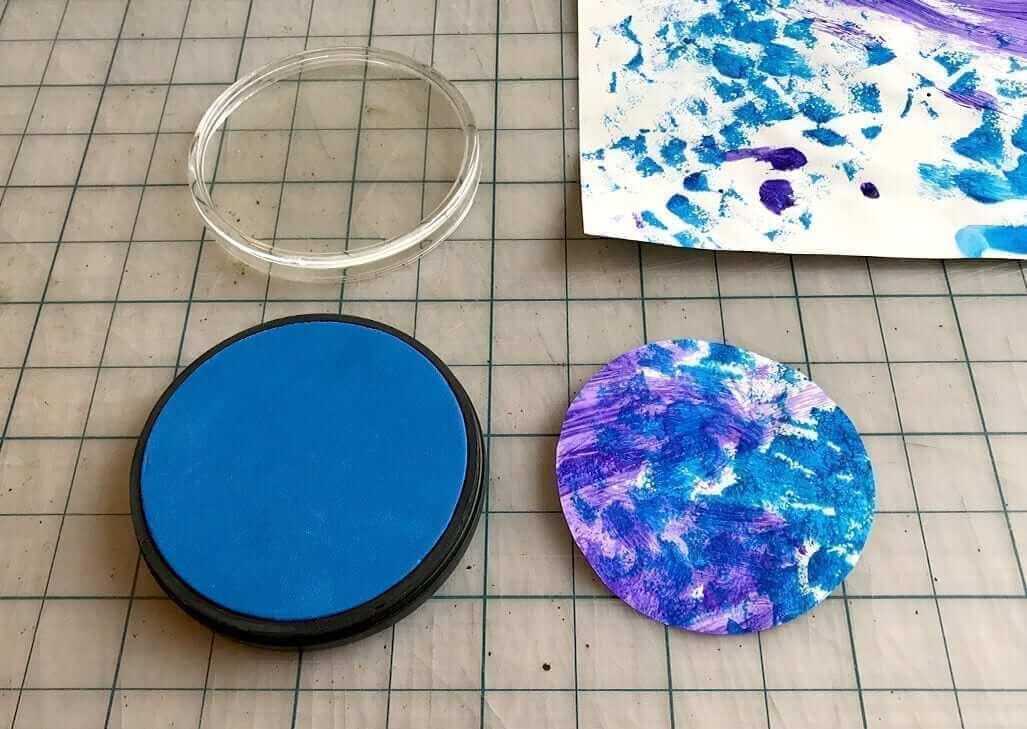
Step 4
Replace the metal plate firmly into the base of the coaster and place all six Tru-Fit inserts on top.
Step 5
Align your artwork on top so it’s perfectly centered and place the top onto the base until it fits snugly. You should hear a snap when it’s properly sealed. For thicker canvas boards, you may have to remove one or two layers of the Tru-Fit inserts for the perfect fit.
Step 6
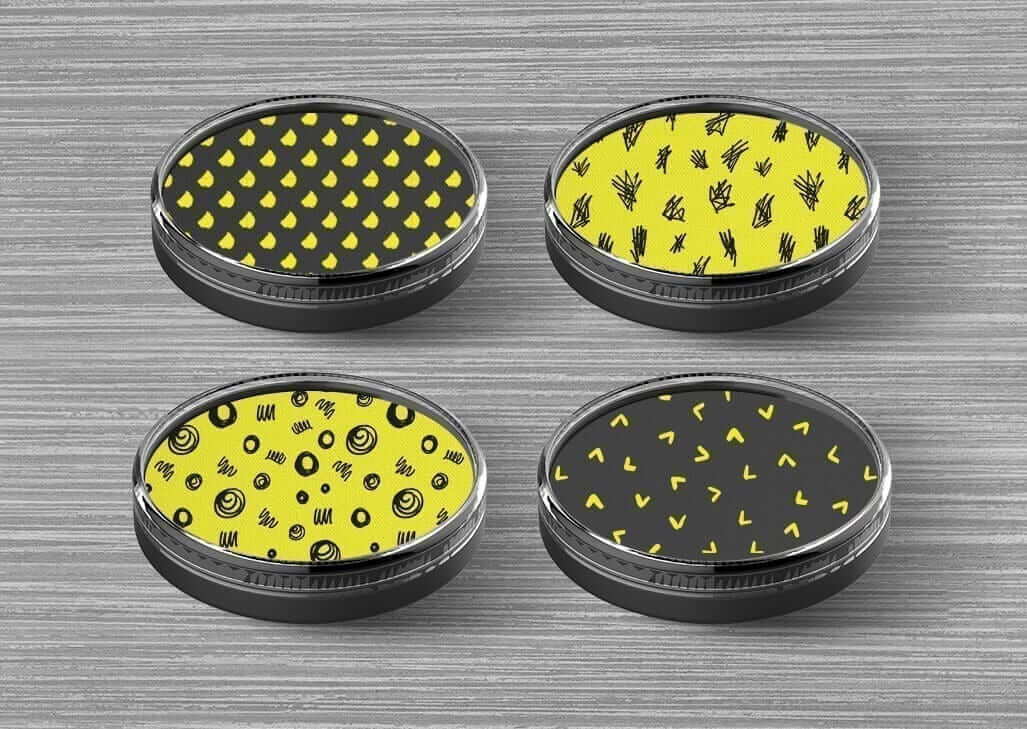
Repeat for as many pieces of artwork as you’d like. We like to make sets of 4 or 6 with different patterns for each! You can even get seasonal with it and switch out your artwork year-round.