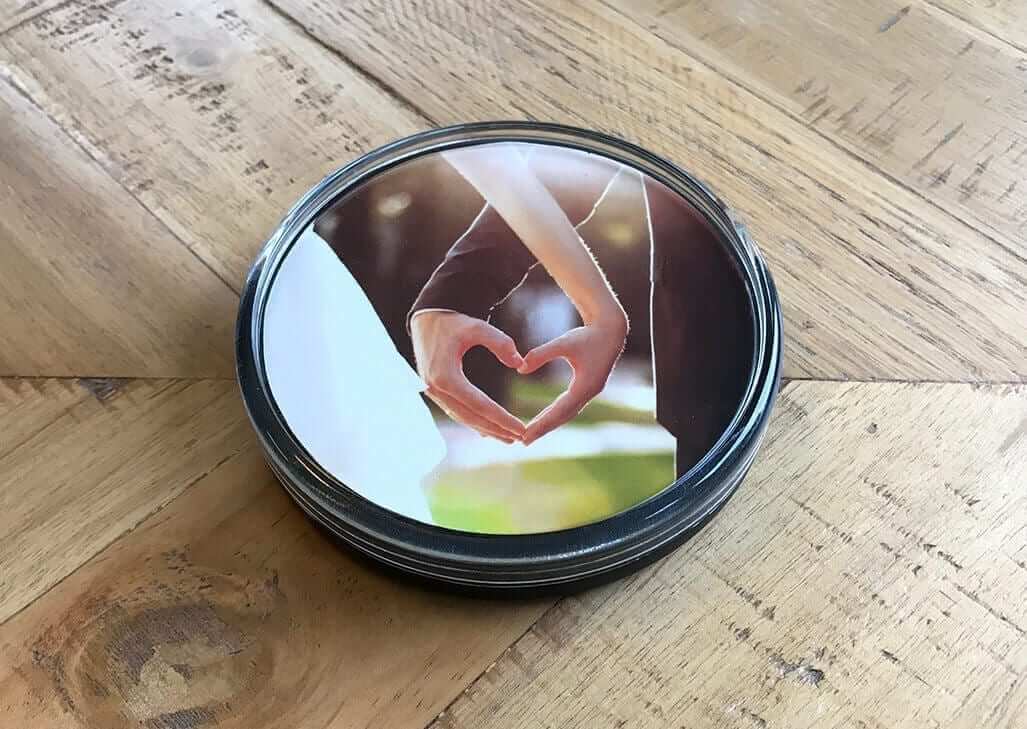
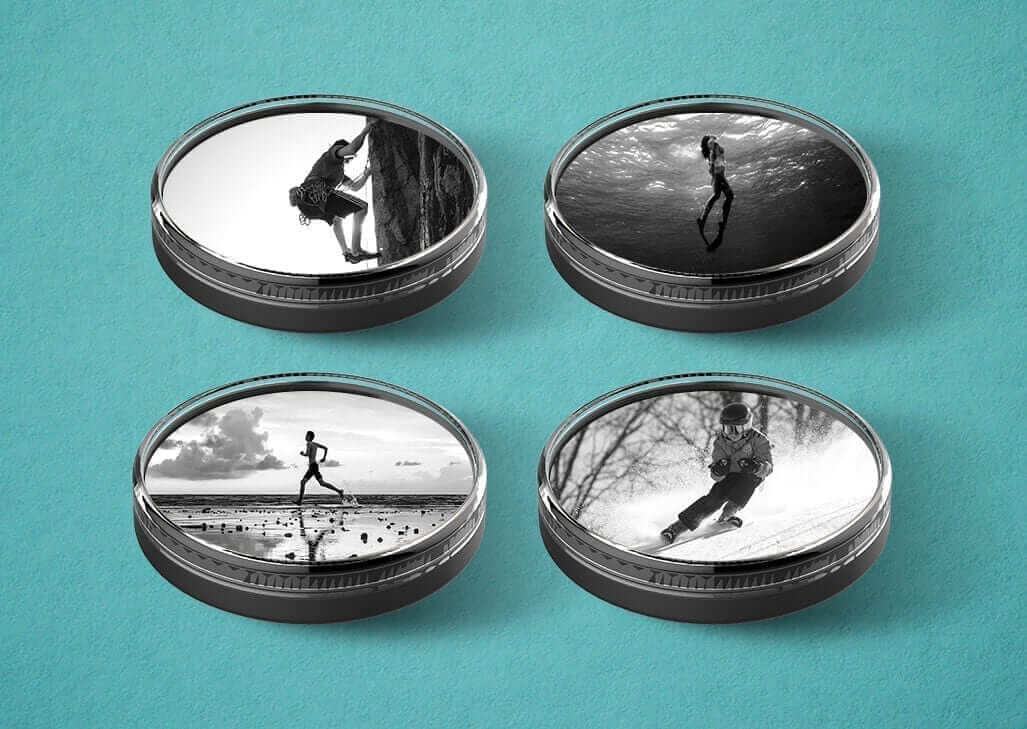
When photo books and frames aren’t unique enough for you, use the Kudos Coaster Plus as your one-of-a-kind way to celebrate your favorite lifetime moments. Follow these instructions for how to make DIY photo coasters out of treasured pictures. Or get creative and choose a small piece of art to make a kids artwork display!
Step 1
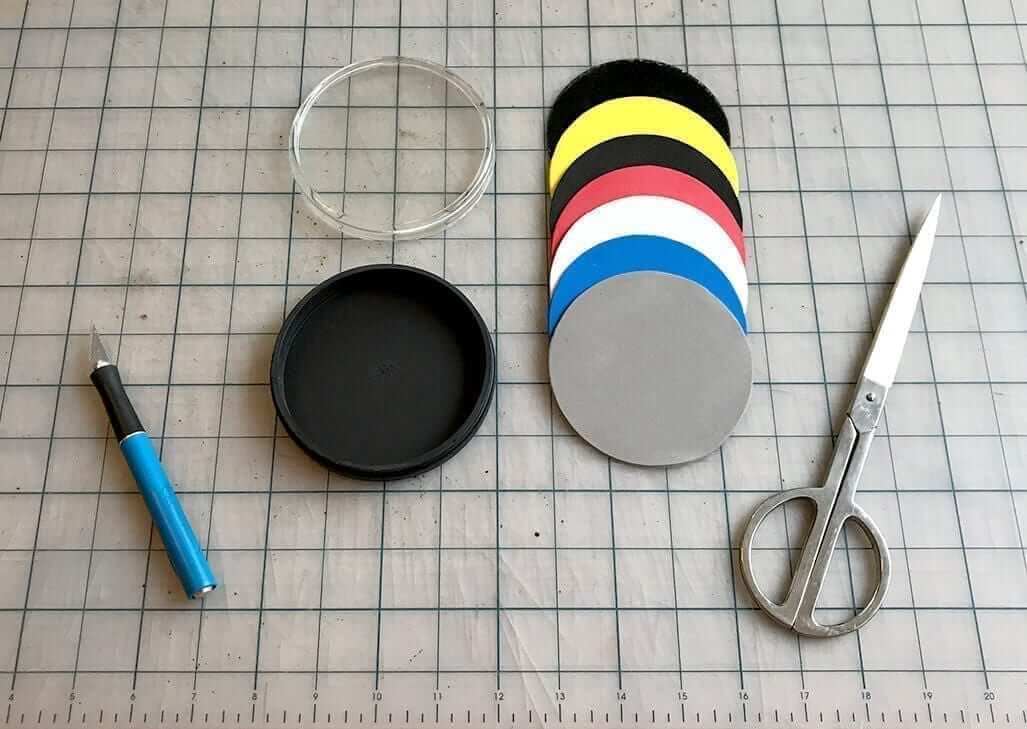
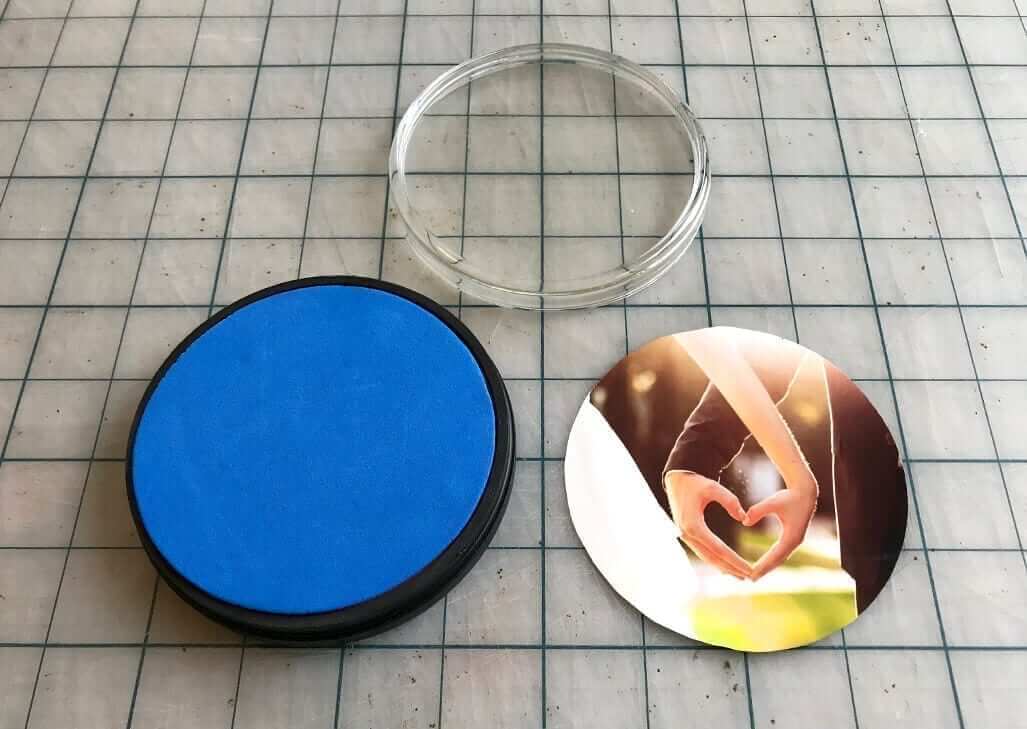
Pop off the top and remove all Tru-Fit inserts along with the metal plate. The metal plate is designed to fit snug into the base, so this might take a little effort to remove.
Step 2
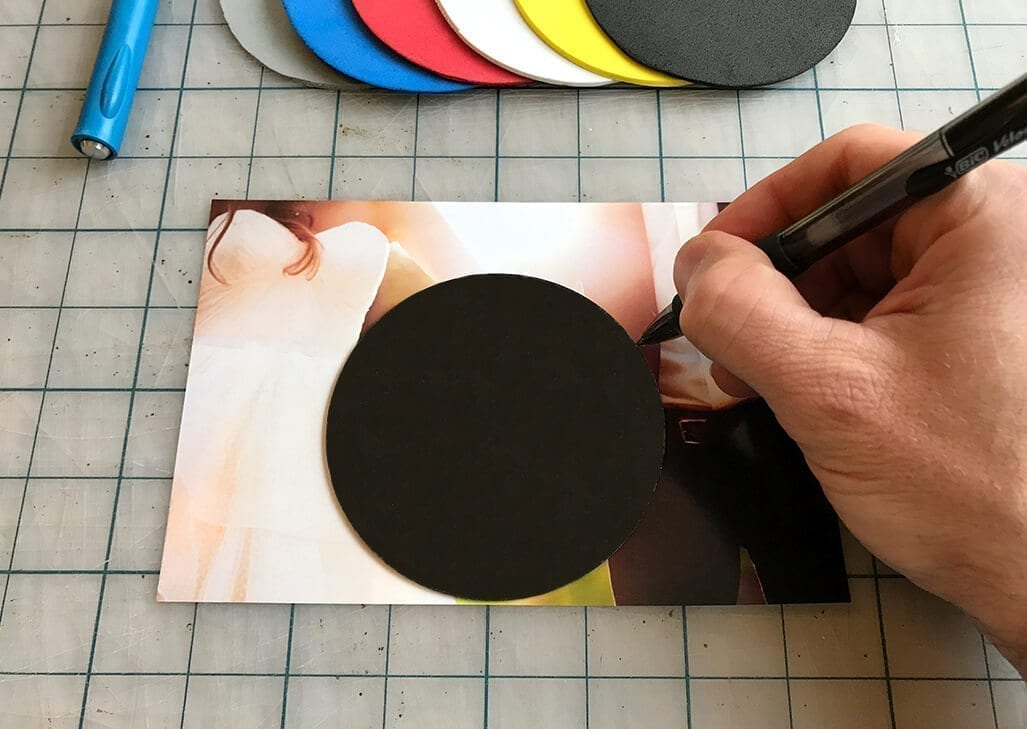
Once the metal plate is removed, use it as a template to trace a circle around your favorite photos with a pencil or pen.
Step 3
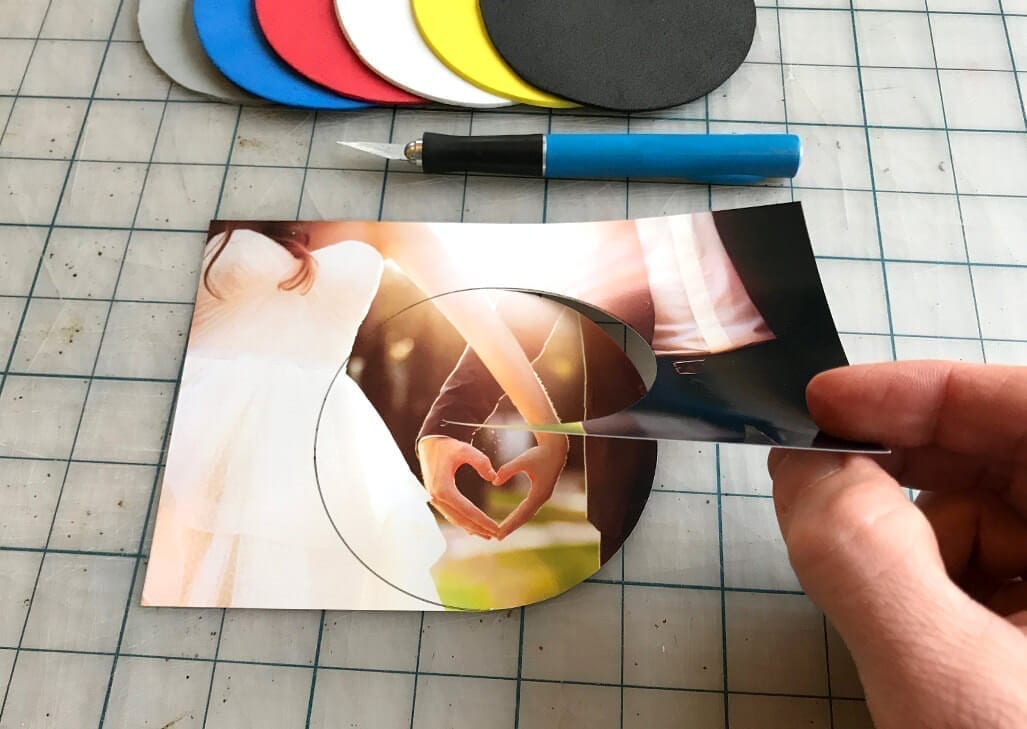
Using scissors or an exact-o blade, carefully cut out the circle from your photo. We recommend cutting on the inside of the line you drew vs directly on the line or on the outside so you don’t see the markings.
Step 4
Replace the metal plate firmly into the base of the coaster and place all six Tru-Fit inserts on top.
Step 5
Align your photo on top so it’s perfectly centered and place the top onto the base until it fits snug. You should hear a snap when it’s properly sealed.
Step 6
Repeat for as many photos as you’d like. We like to make sets of 4 or 6!